

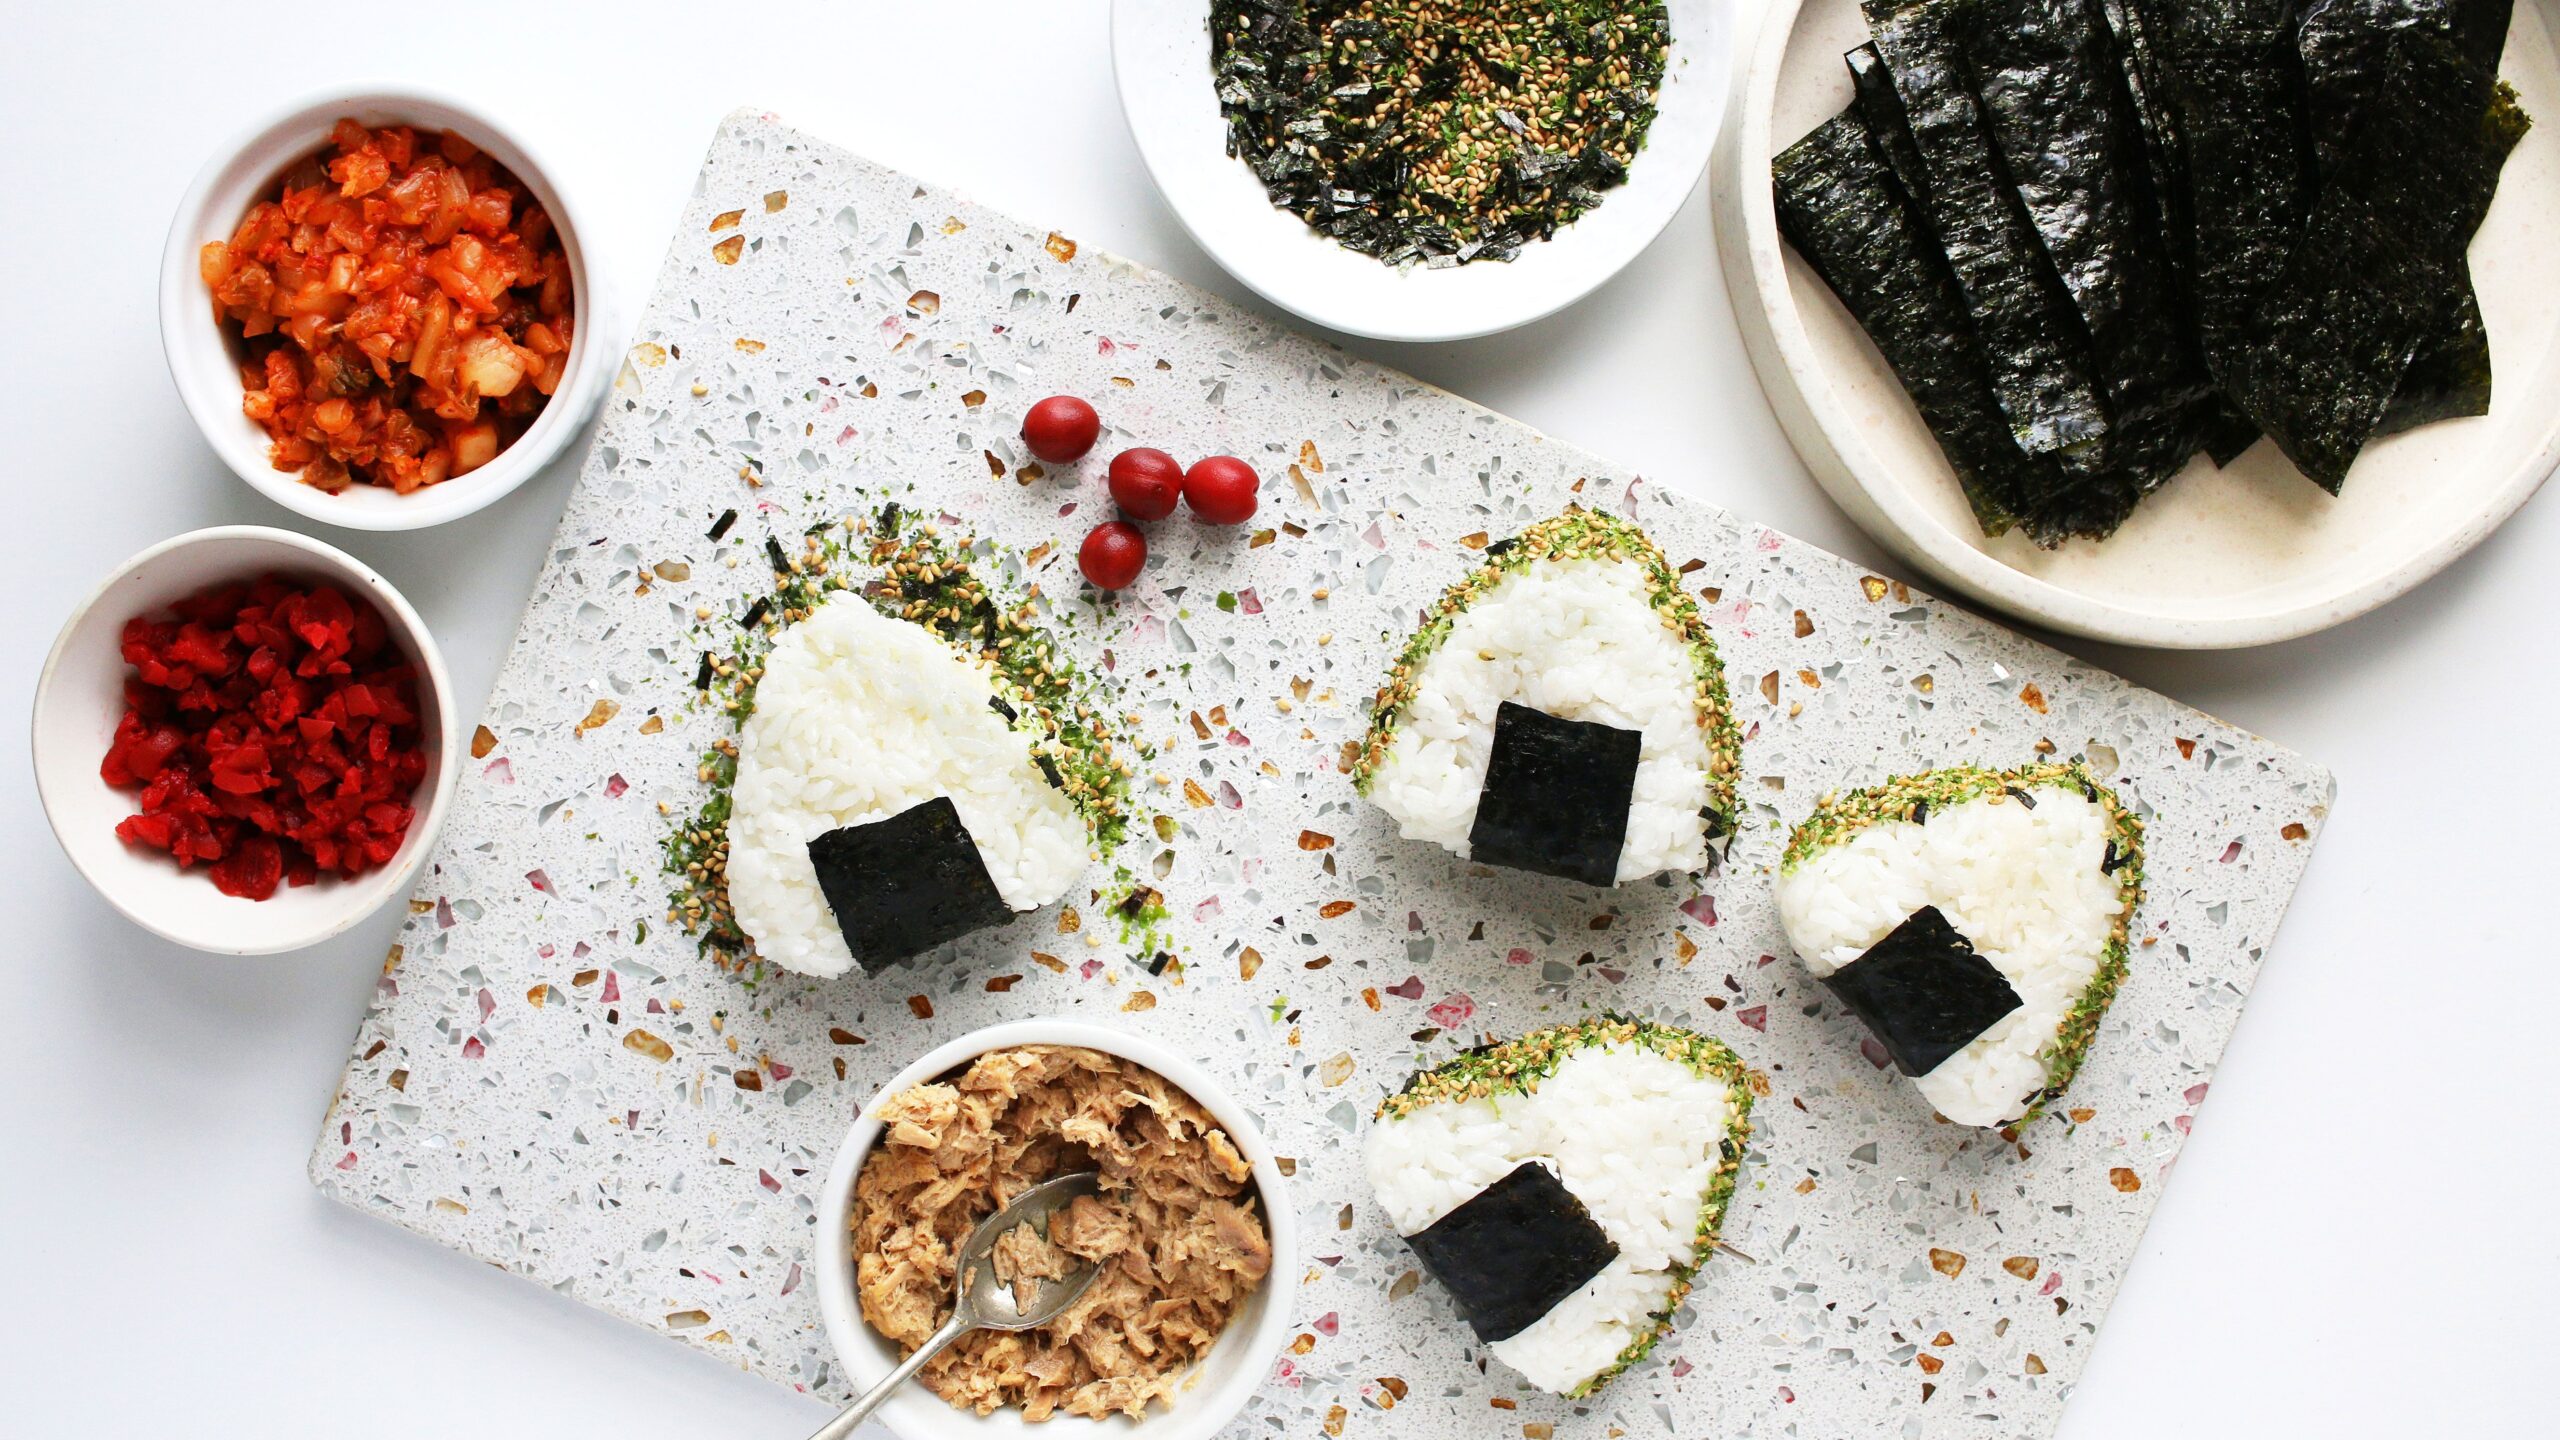
Stuffed with savory fillings and wrapped in crisp nori, Japanese rice balls called onigiri are made for eating on the go. A convenience-store staple in Japan, they’re just as handy tucked into a lunch box or picnic basket.
The key to onigiri that hold their shape is properly cooked Japanese short-grain rice. Rinsing and soaking the rice helps it cook evenly; shaping it while still slightly warm helps the grains stick together. Use damp, salted hands to prevent sticking—no rice cooker or onigiri mold required.
This version offers three fillings: creamy tuna mayo, tart and salty umeboshi (pickled plums), or spicy kimchi. Once you’ve got the technique down, feel free to experiment with cooked salmon, spicy tuna, cod roe, leftover chicken salad, or crab meat. Just avoid anything too wet, which can make the rice balls difficult to shape.
Onigiri FAQs
What kind of rice is best for onigiri?
Japanese short-grain rice, often labeled sushi rice at US supermarkets, is the best choice. When cooked, the grains cling together enough for the onigiri to hold their shape. Long-grain rice, such as jasmine or basmati, won’t hold together as well.
How do you keep onigiri from falling apart?
Shape the onigiri while the rice is still warm, using firm but gentle pressure to pack the grains together. Keep the remaining rice covered as you work so it doesn’t cool or dry out, and wet your hands with the salted water in the recipe to prevent sticking.
What can you put inside onigiri?
This recipe offers options including tuna mayo, umeboshi, and kimchi, but cooked salmon, spicy tuna, cod roe, leftover chicken salad, or crab meat are all fair game. Whatever you choose, avoid excessively wet fillings, which can make the onigiri harder to shape.
Can you make onigiri ahead of time?
Yes. These onigiri can be made up to two days ahead. Wrap each one tightly and refrigerate. For crisp nori, leave it off until you’re ready to eat; otherwise it will soften as it absorbs moisture from the rice.
